
Content
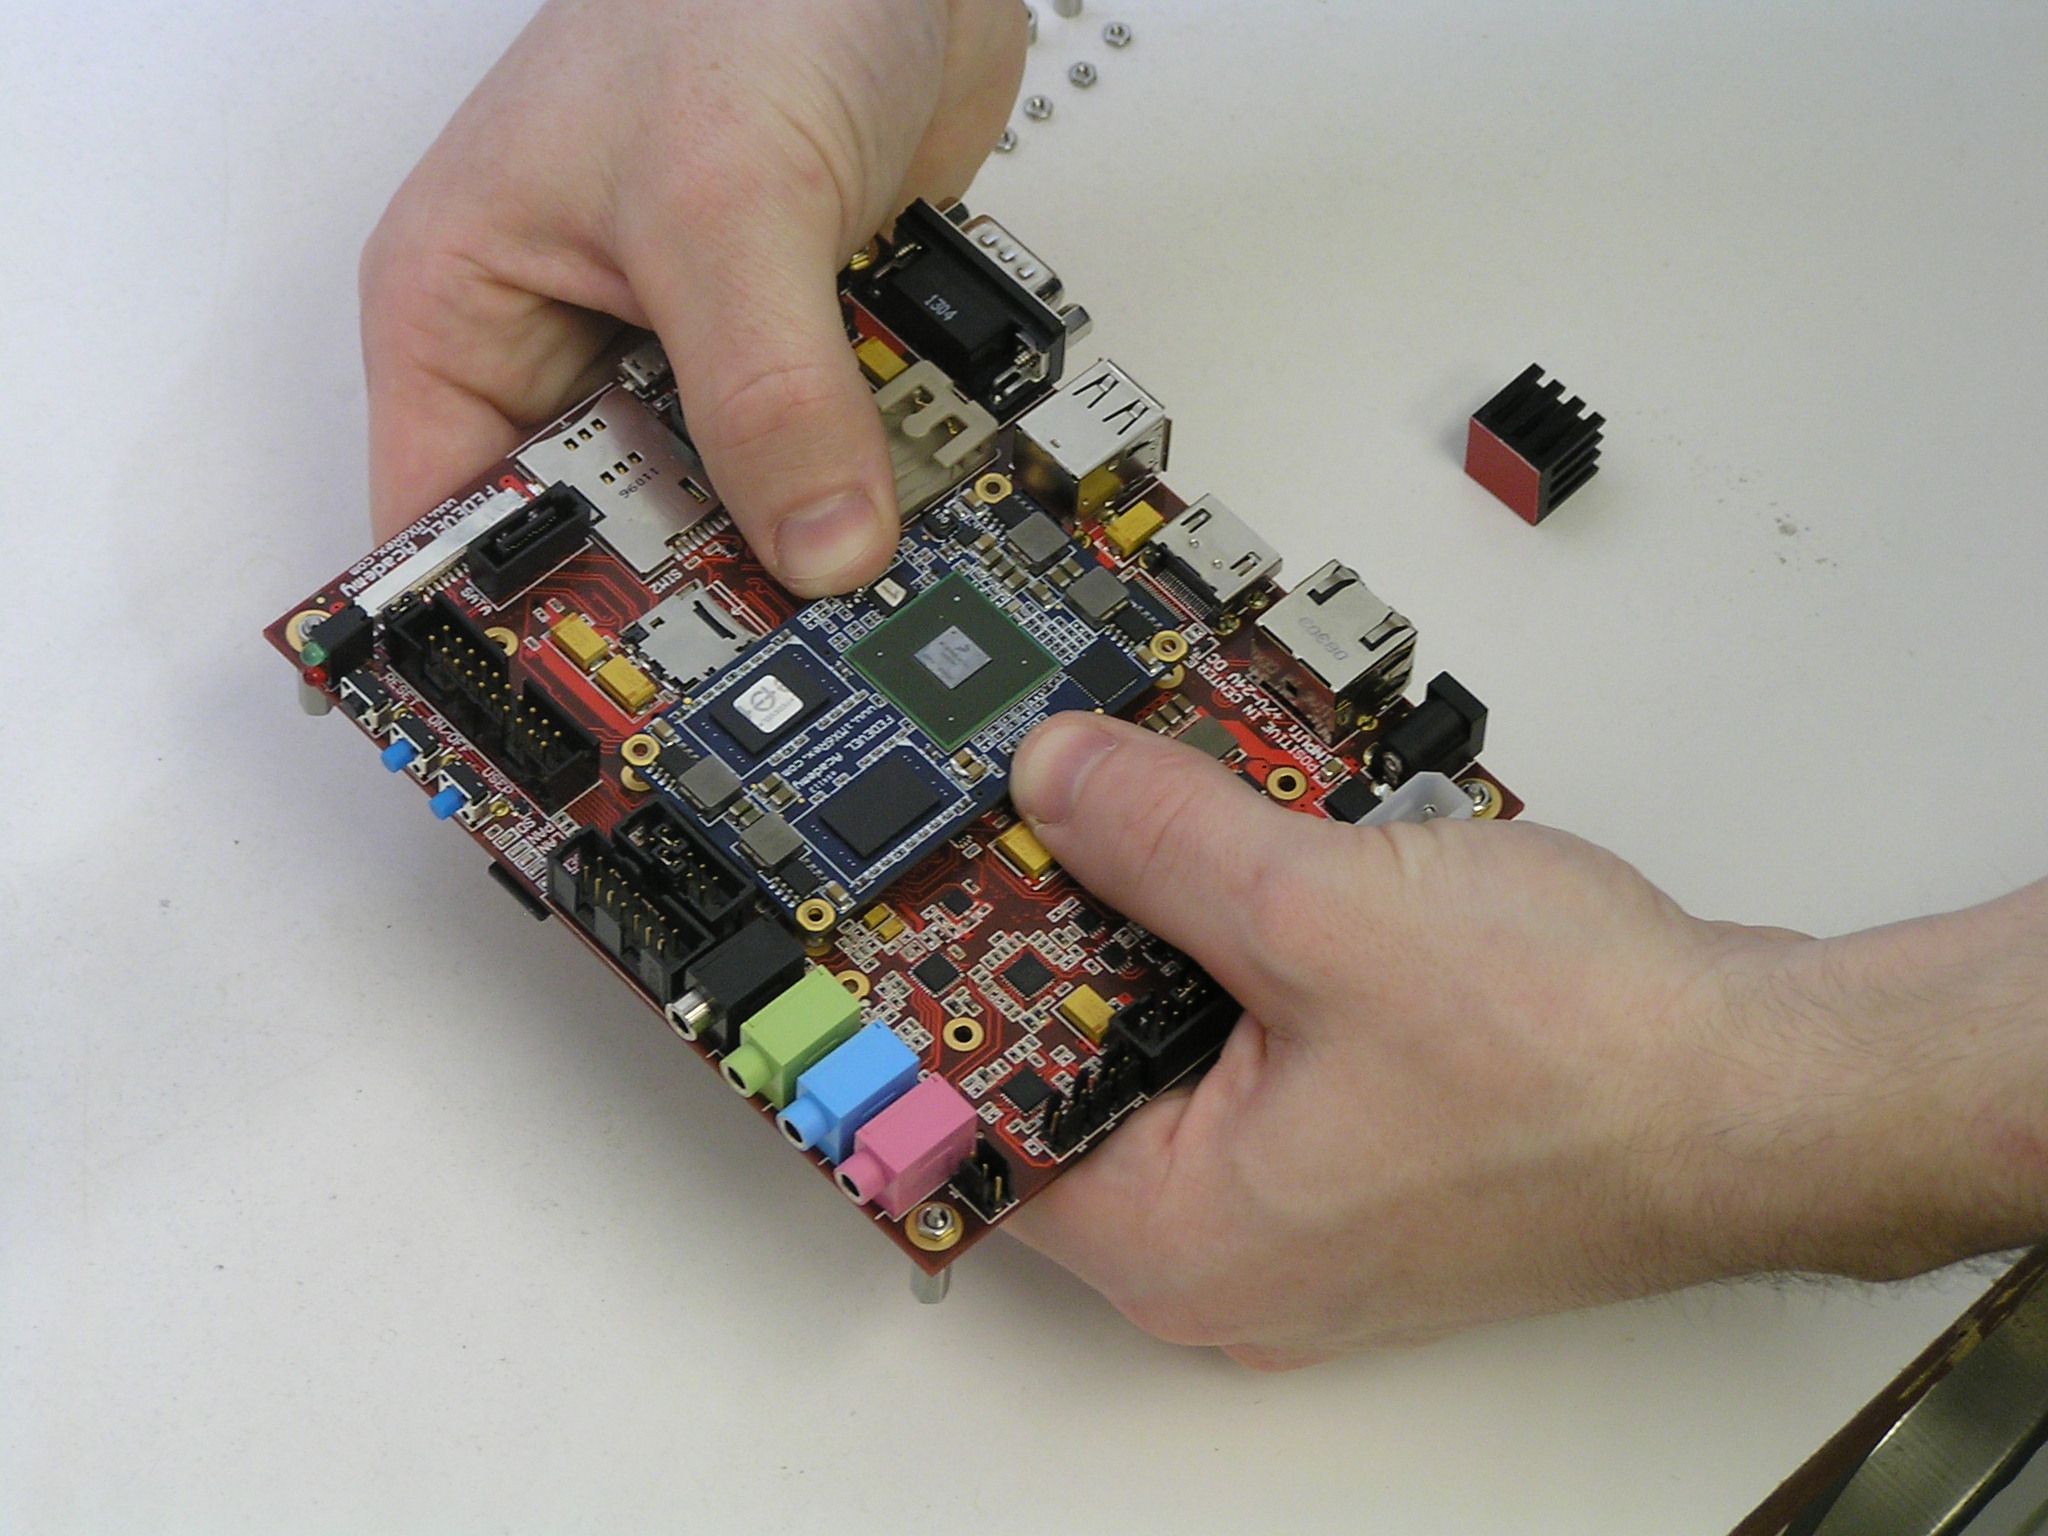
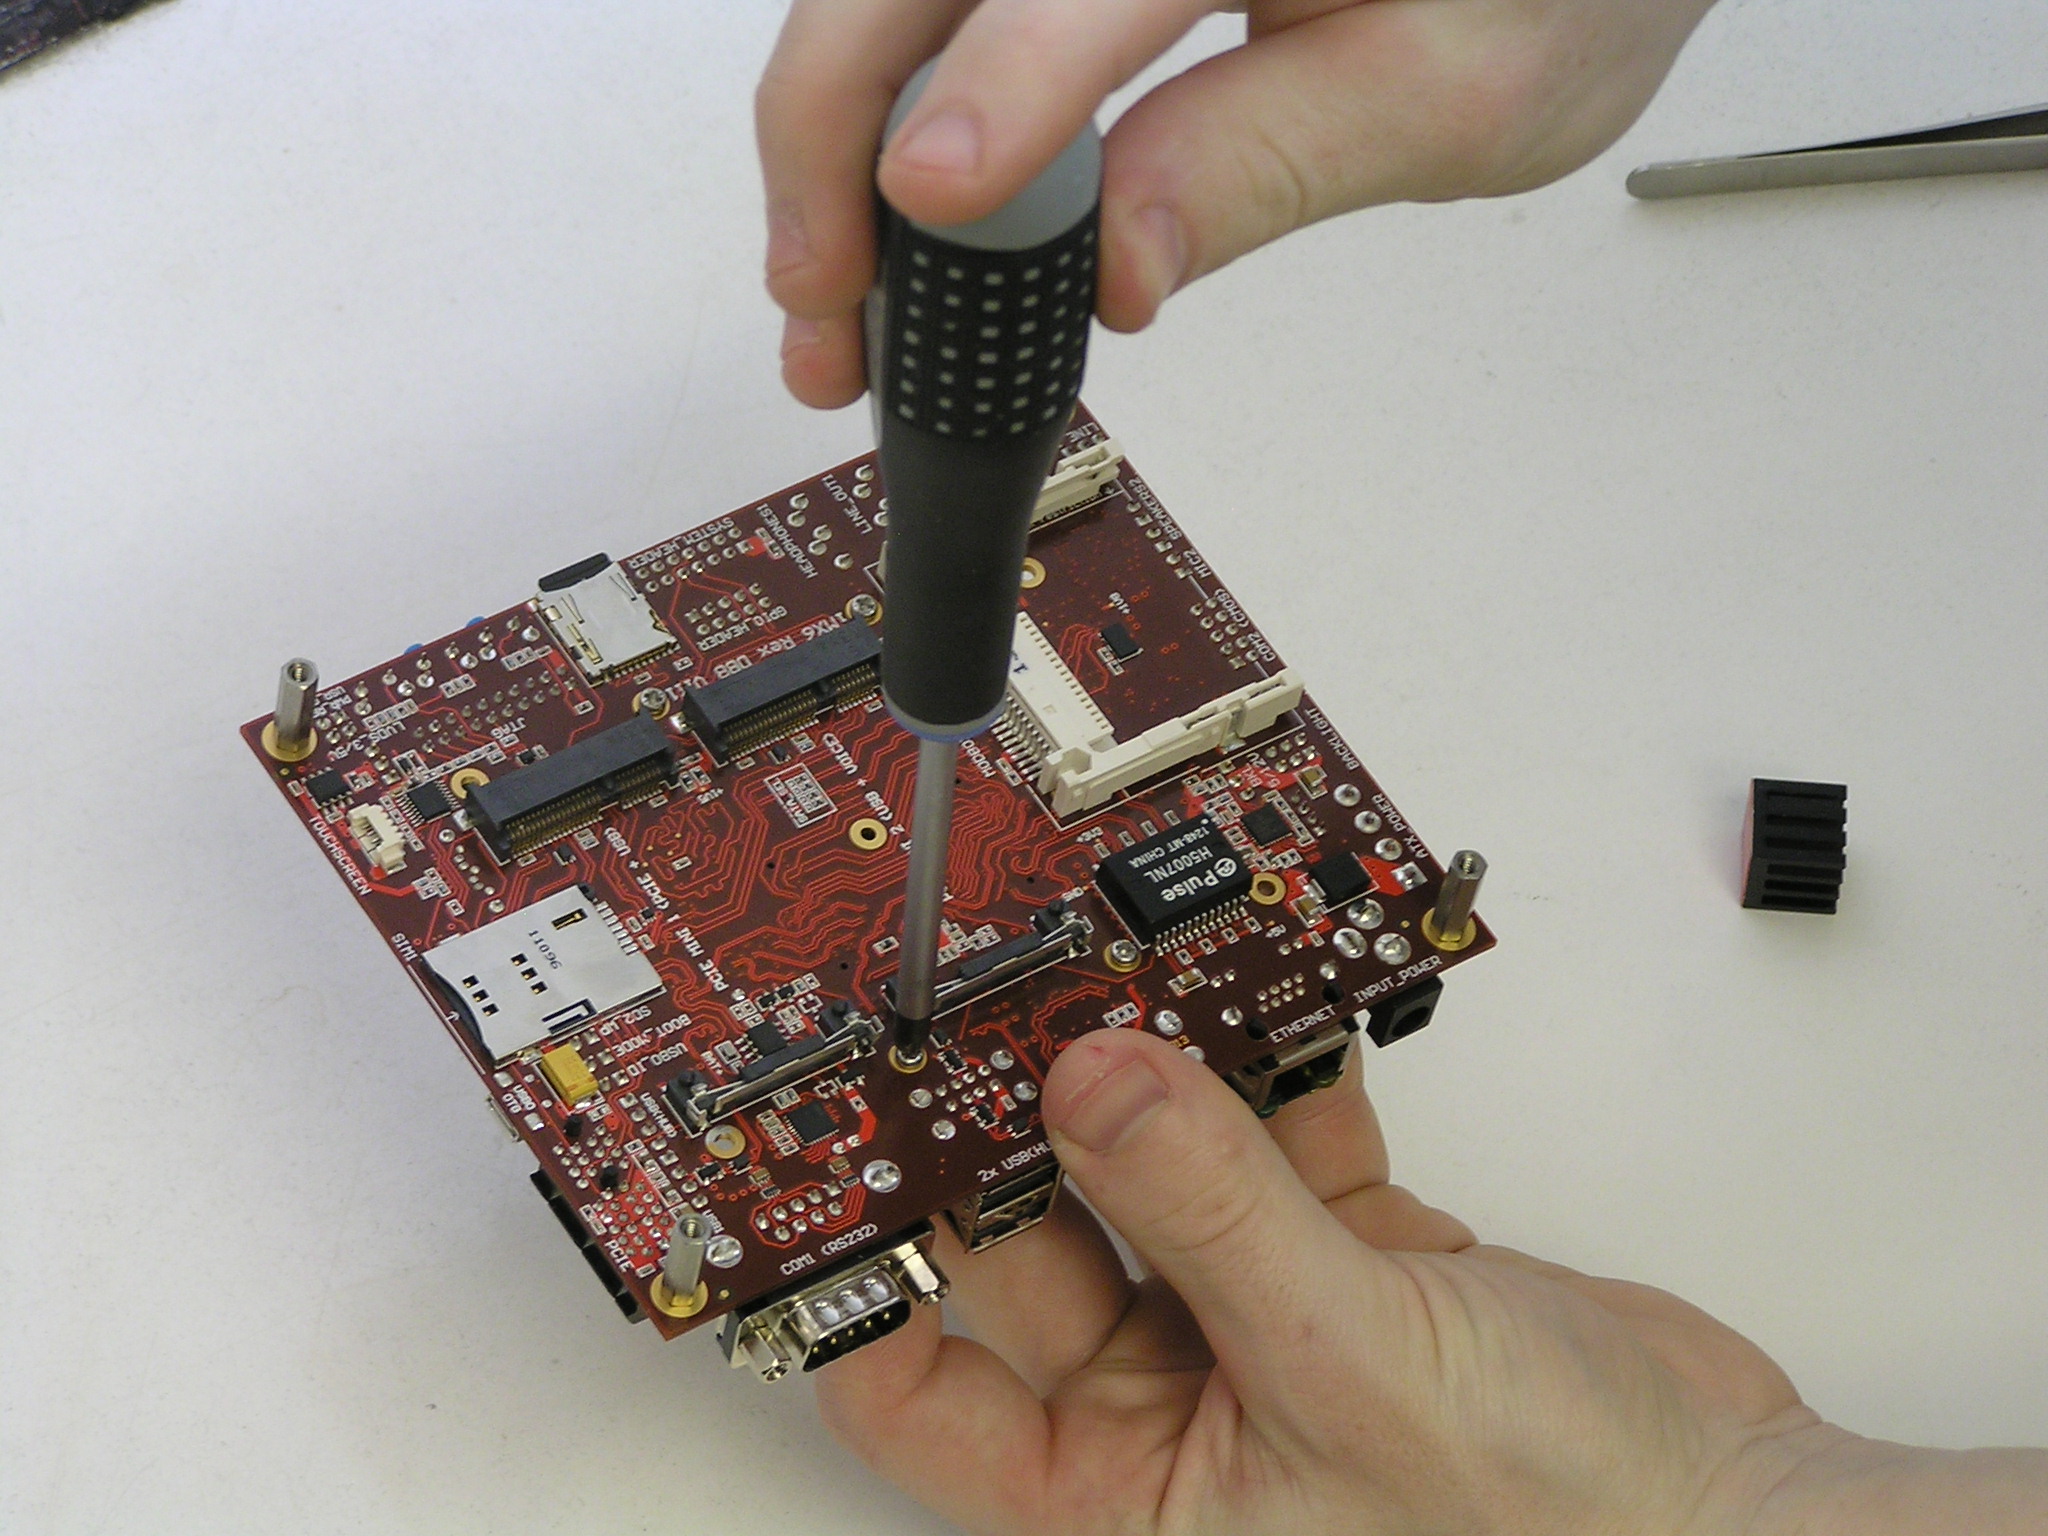
- Plug the module into the baseboard
- Add spacers and tight up all the four screws
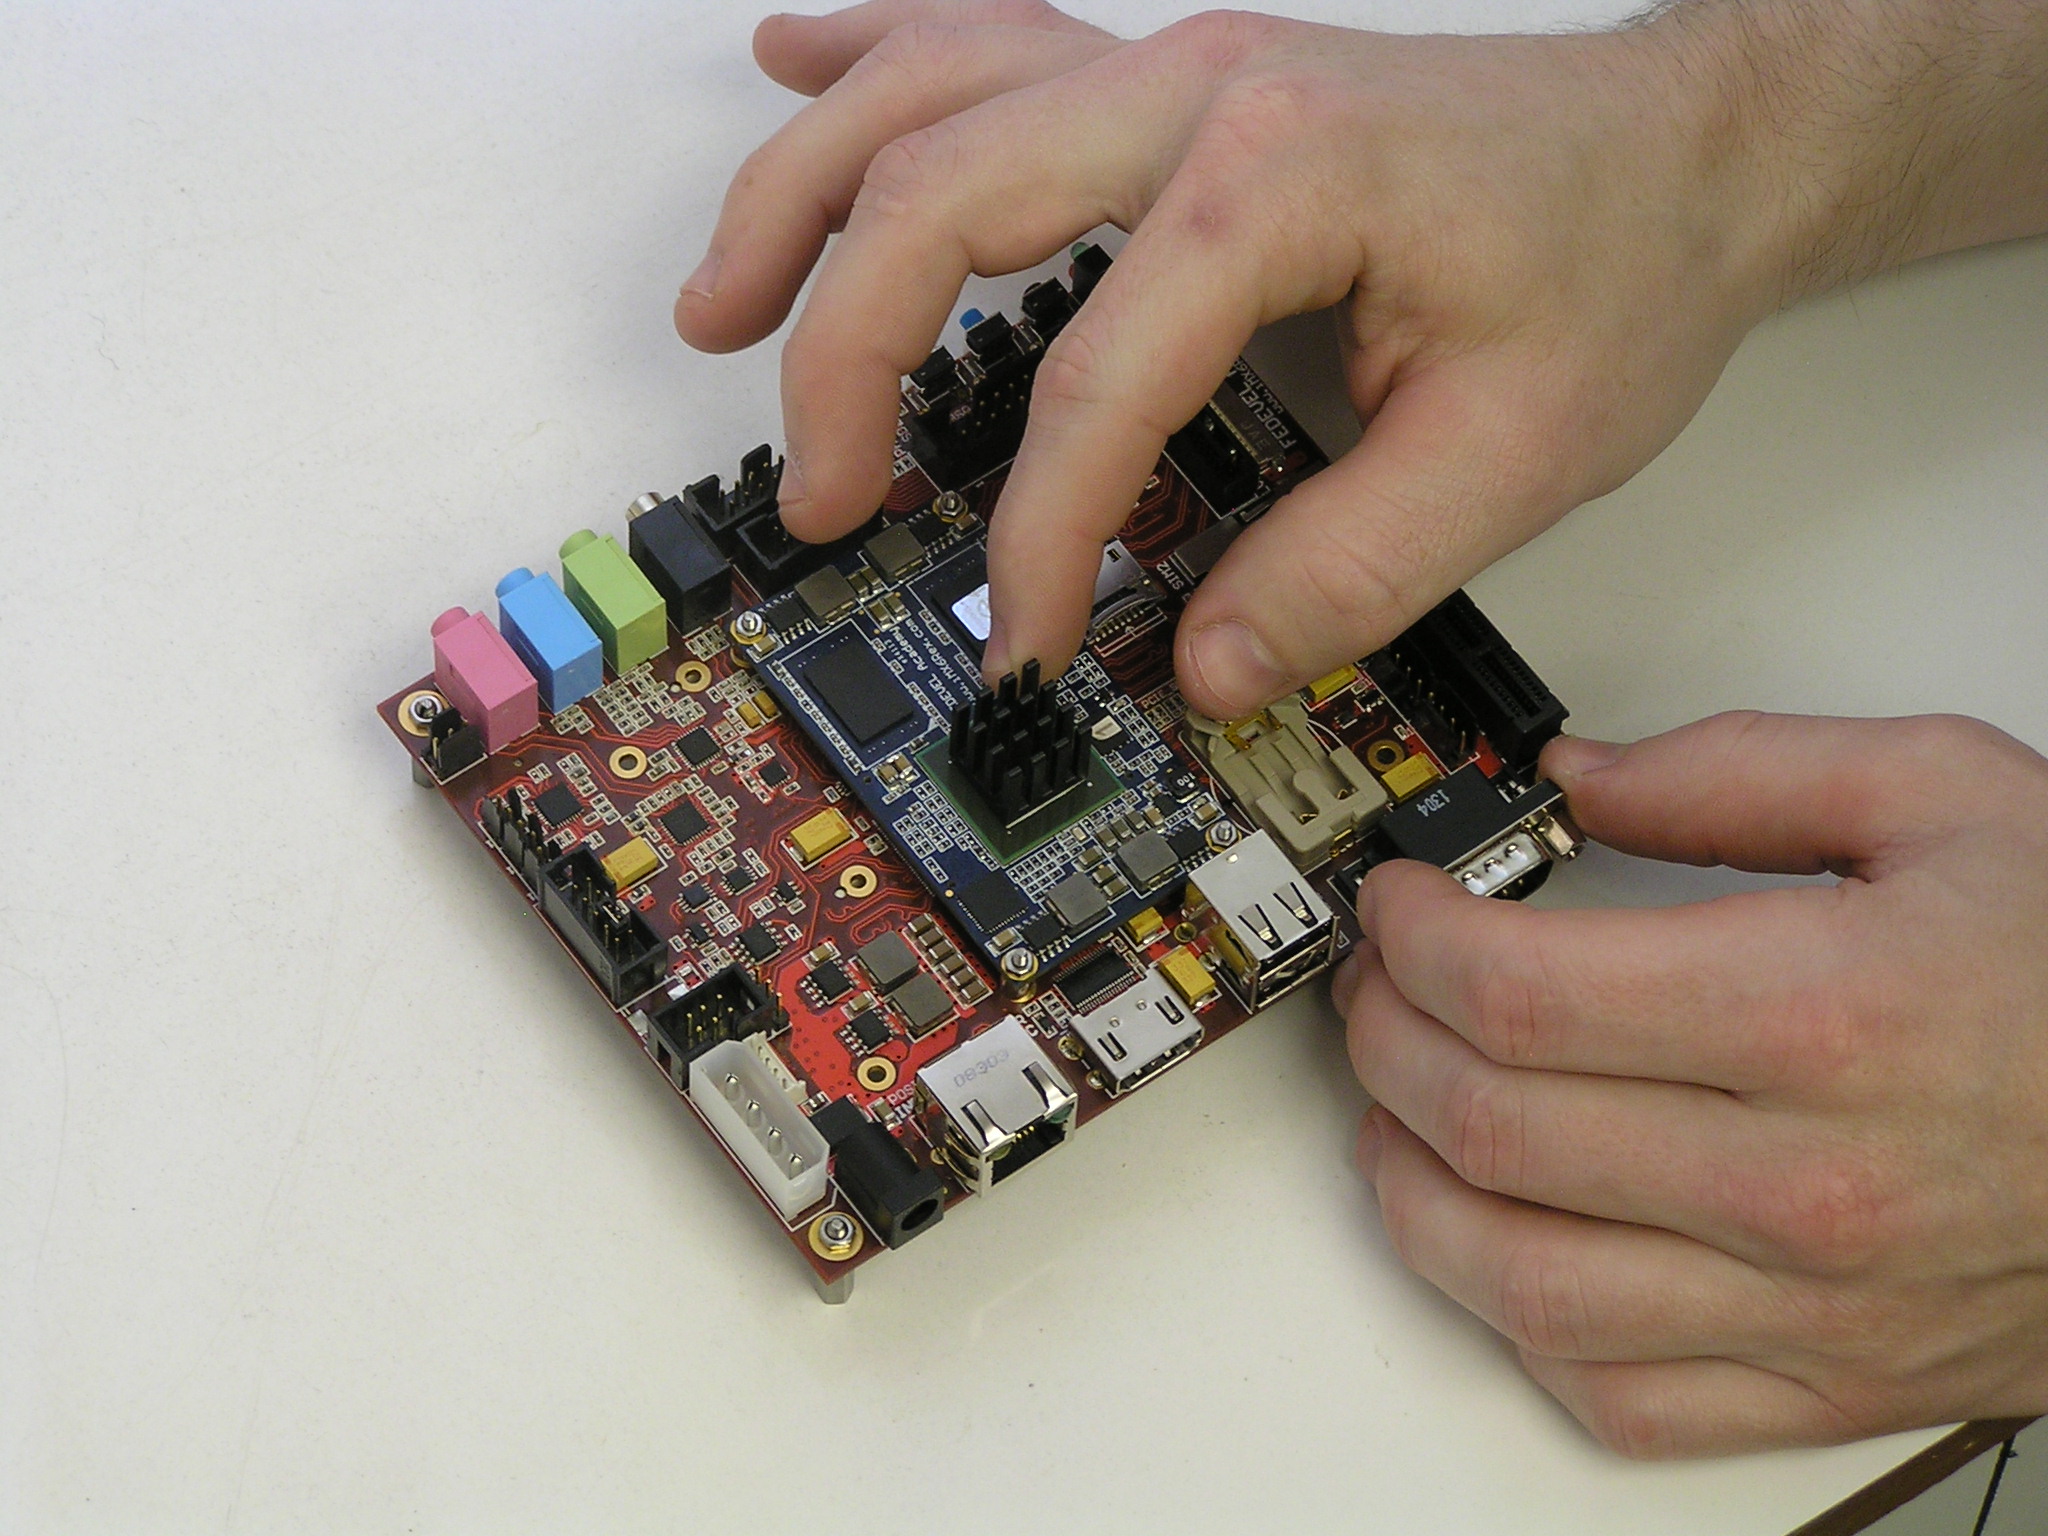
- Place the heatsink
- Connect serial cable
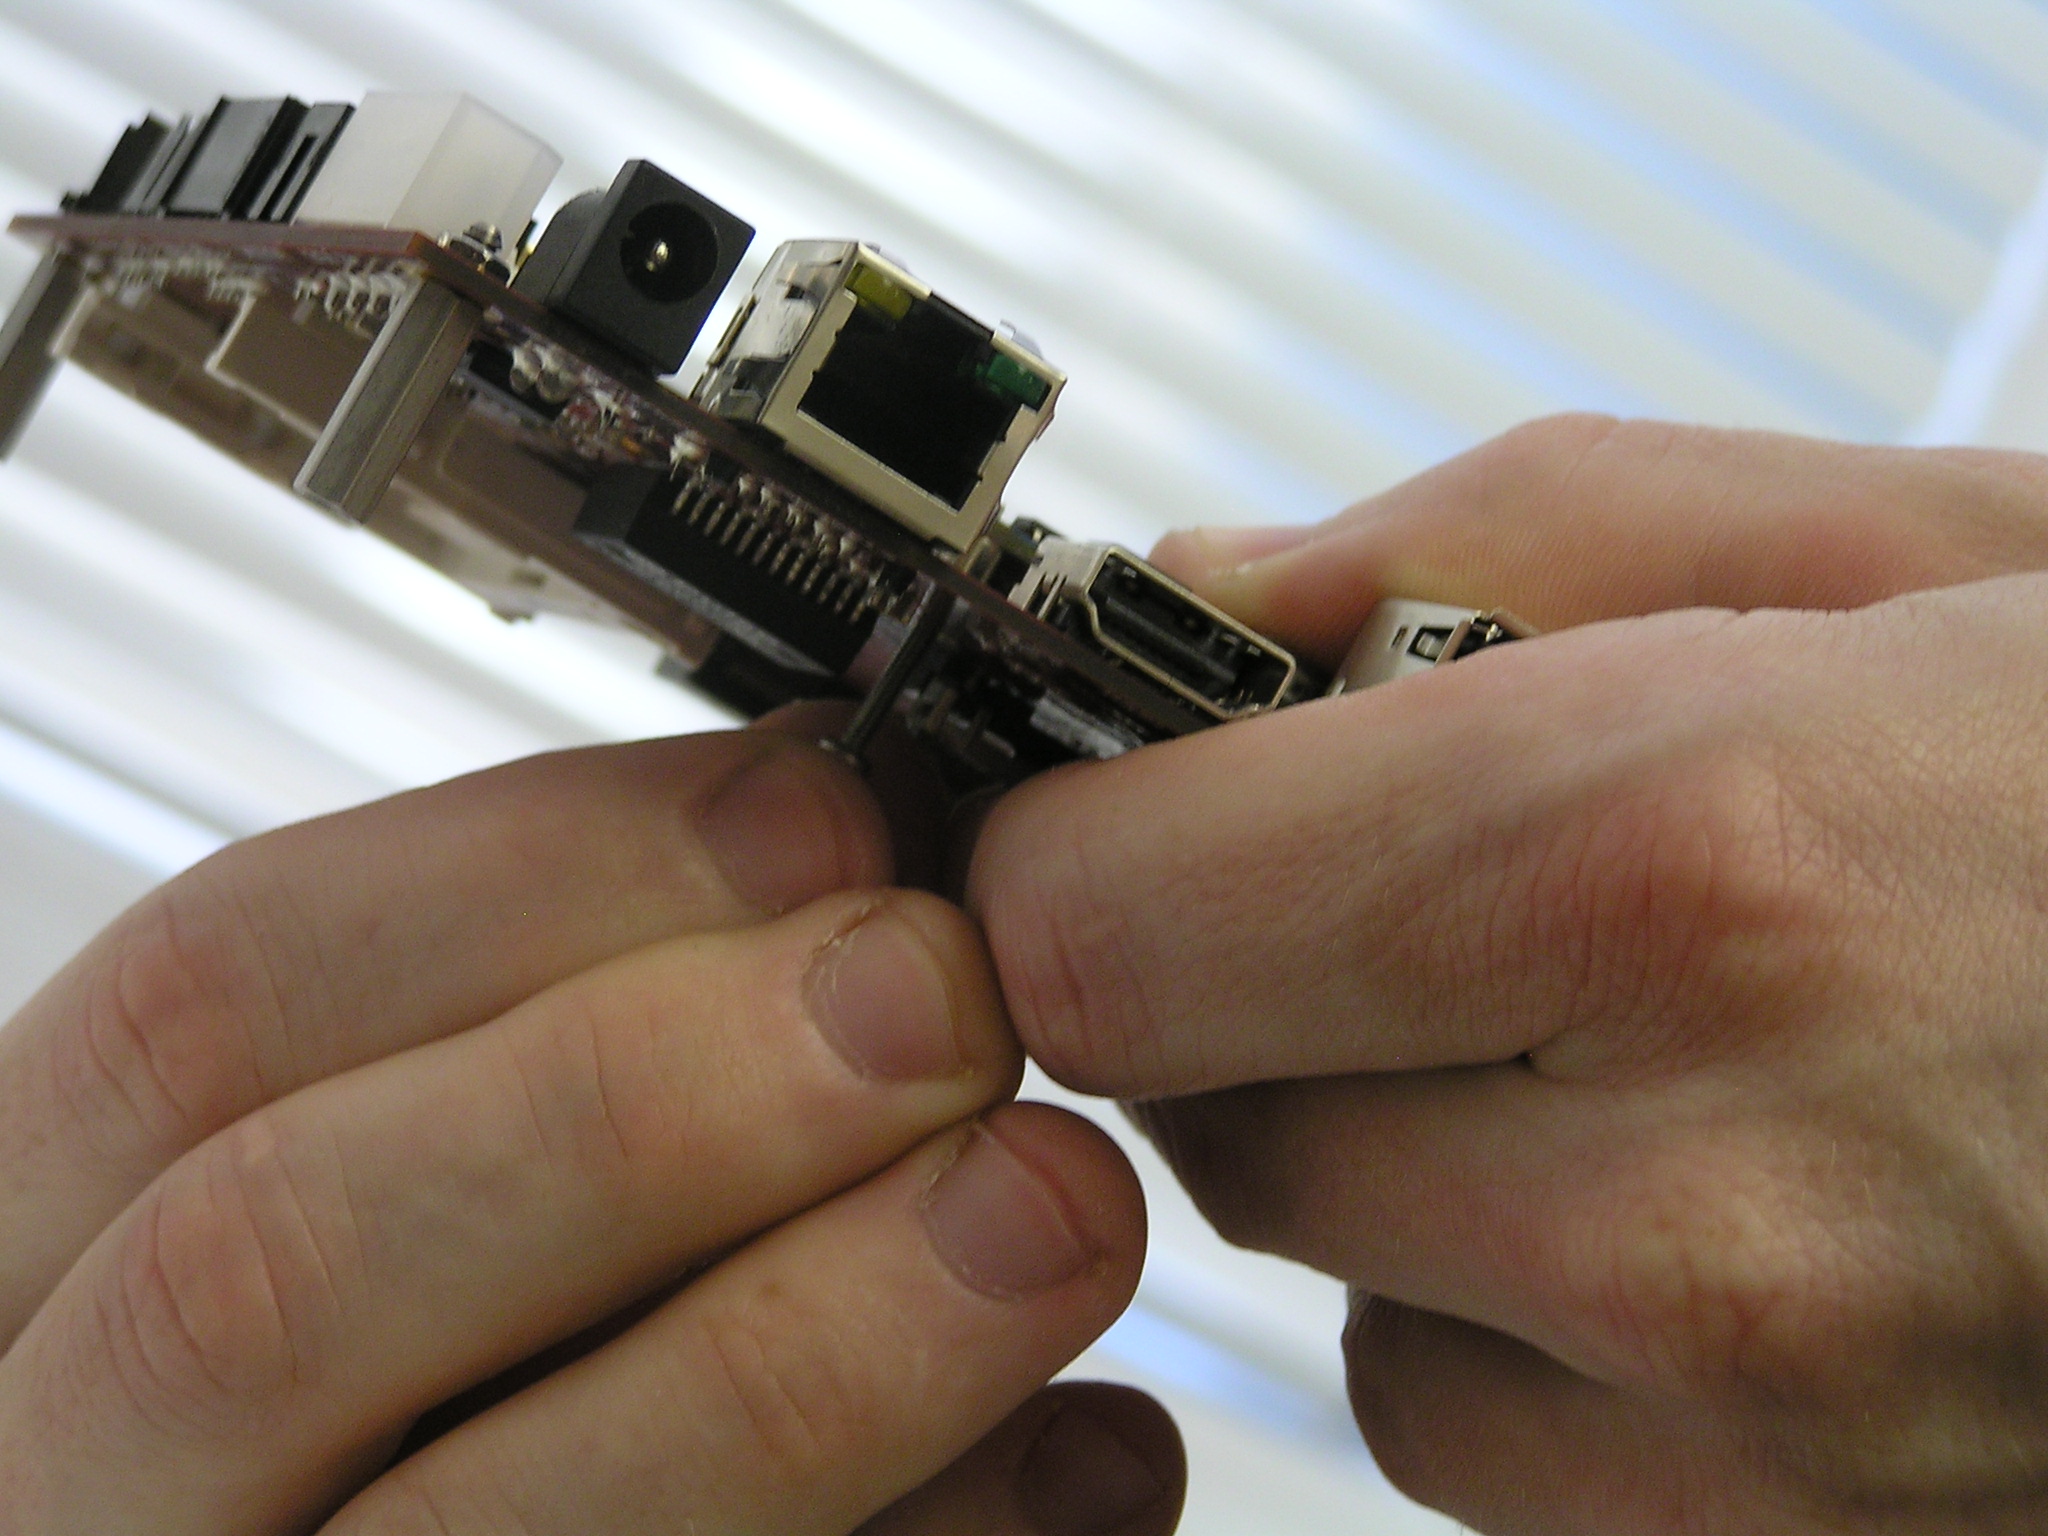
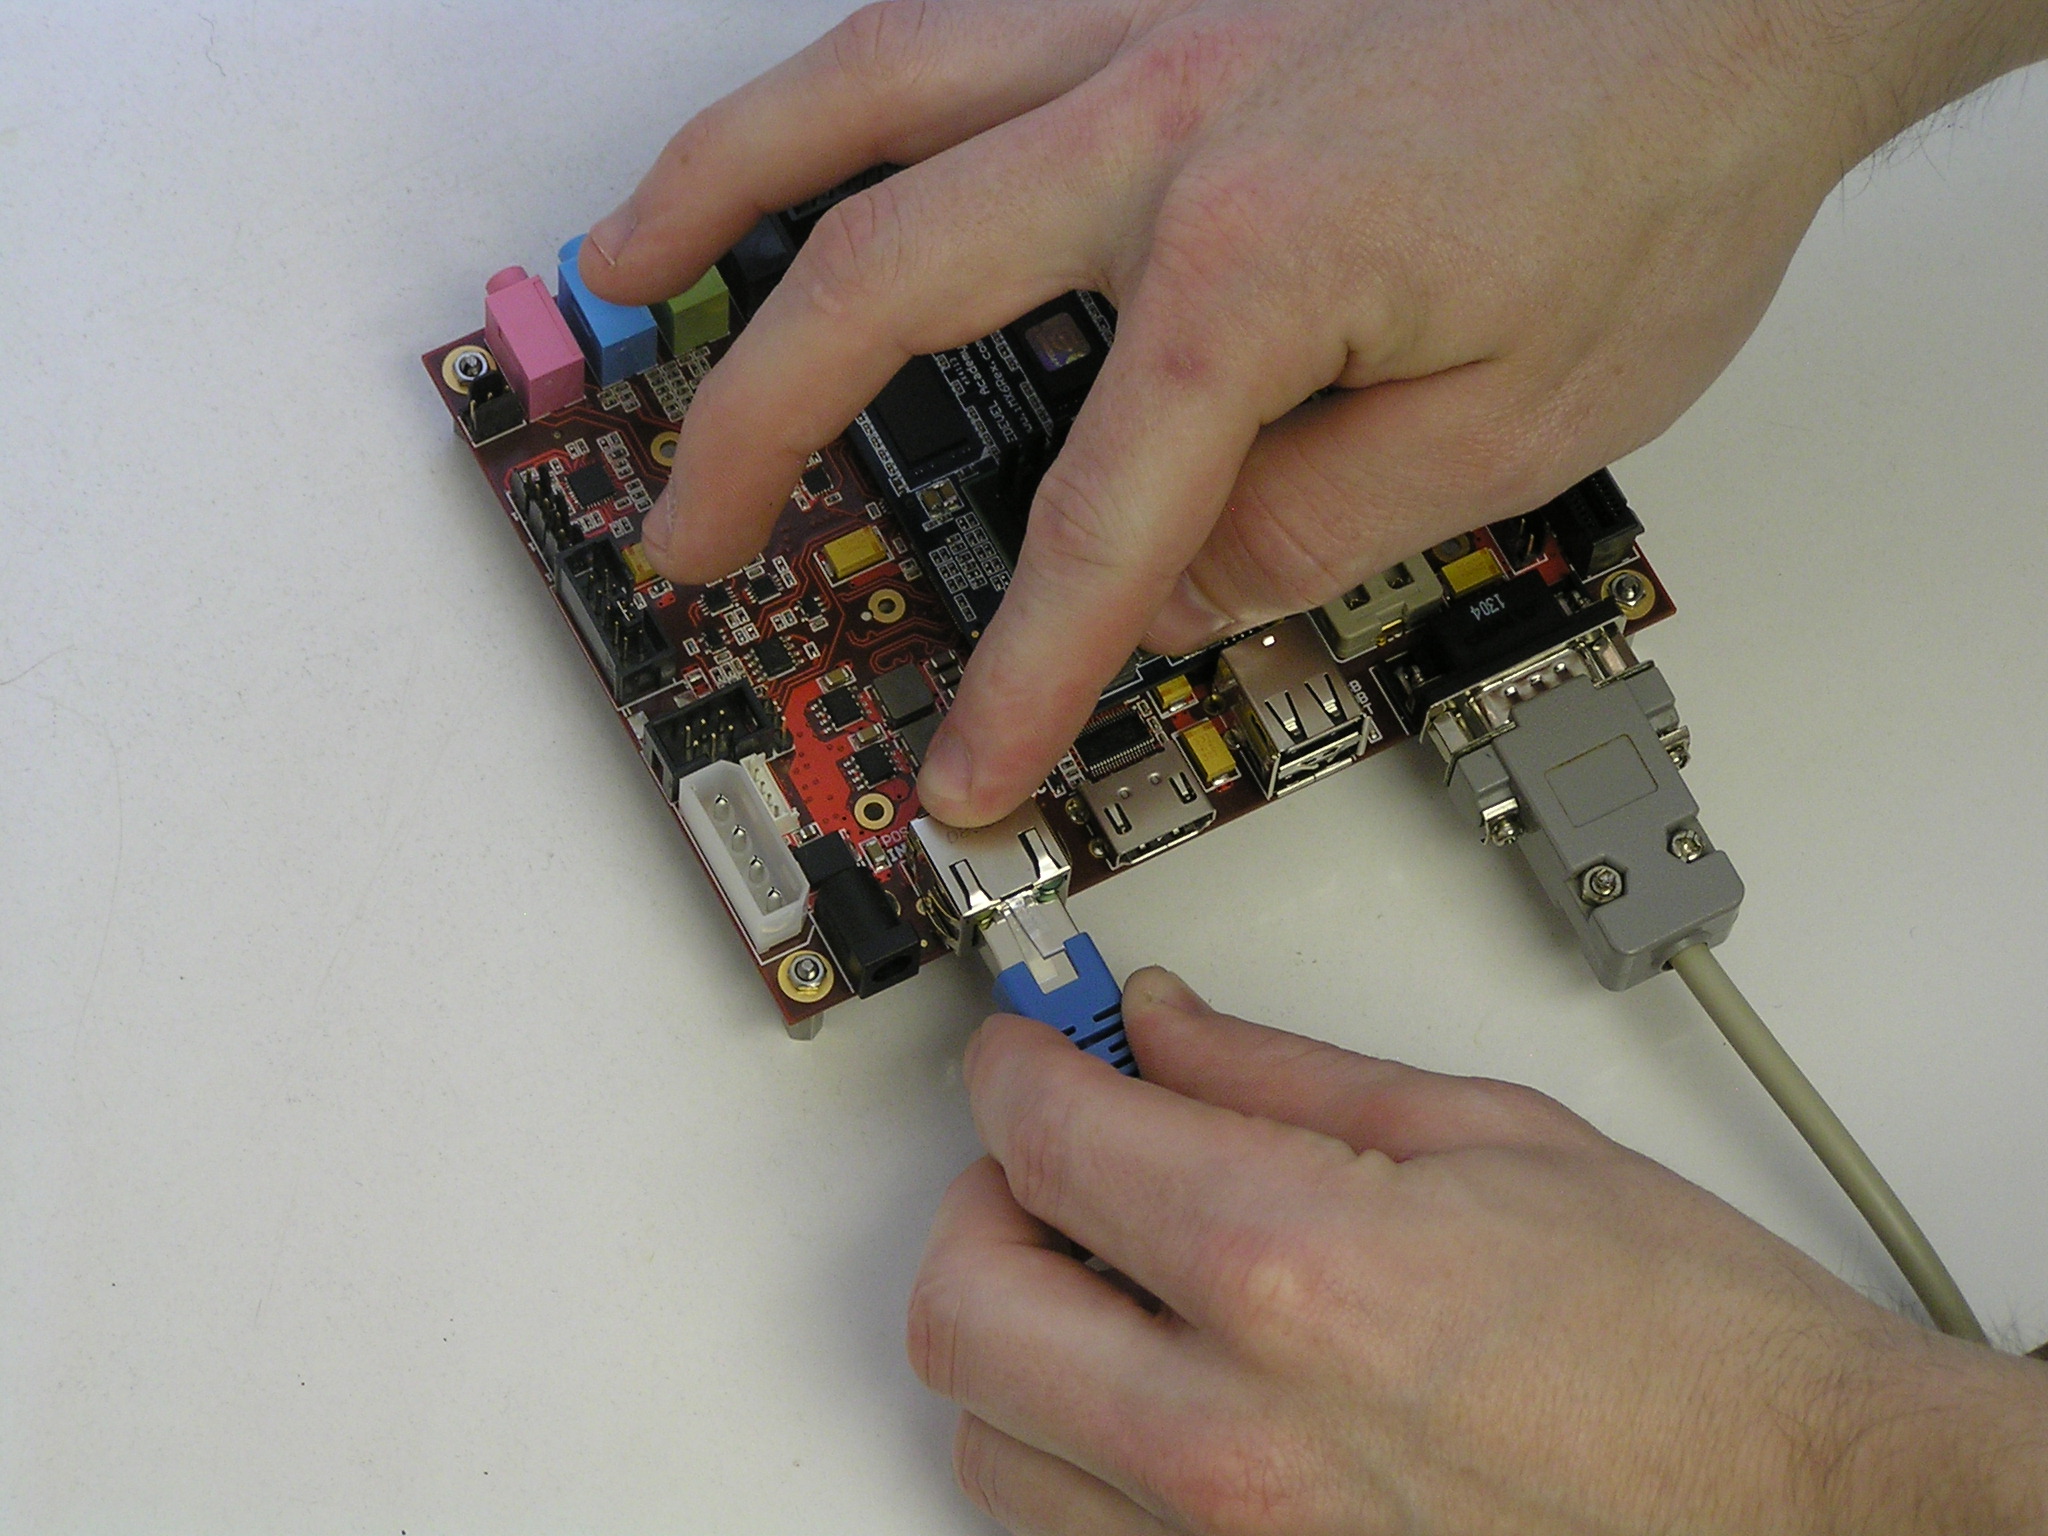
- Connect network cable
- Insert SD card
- Connect the power
- Update network configuration
These steps will help you to power up your iMX6 Rex development kit for the very first time.
- Plug the module into the baseboard
- Add spacers and tight up all the four screws
- Place the heatsink
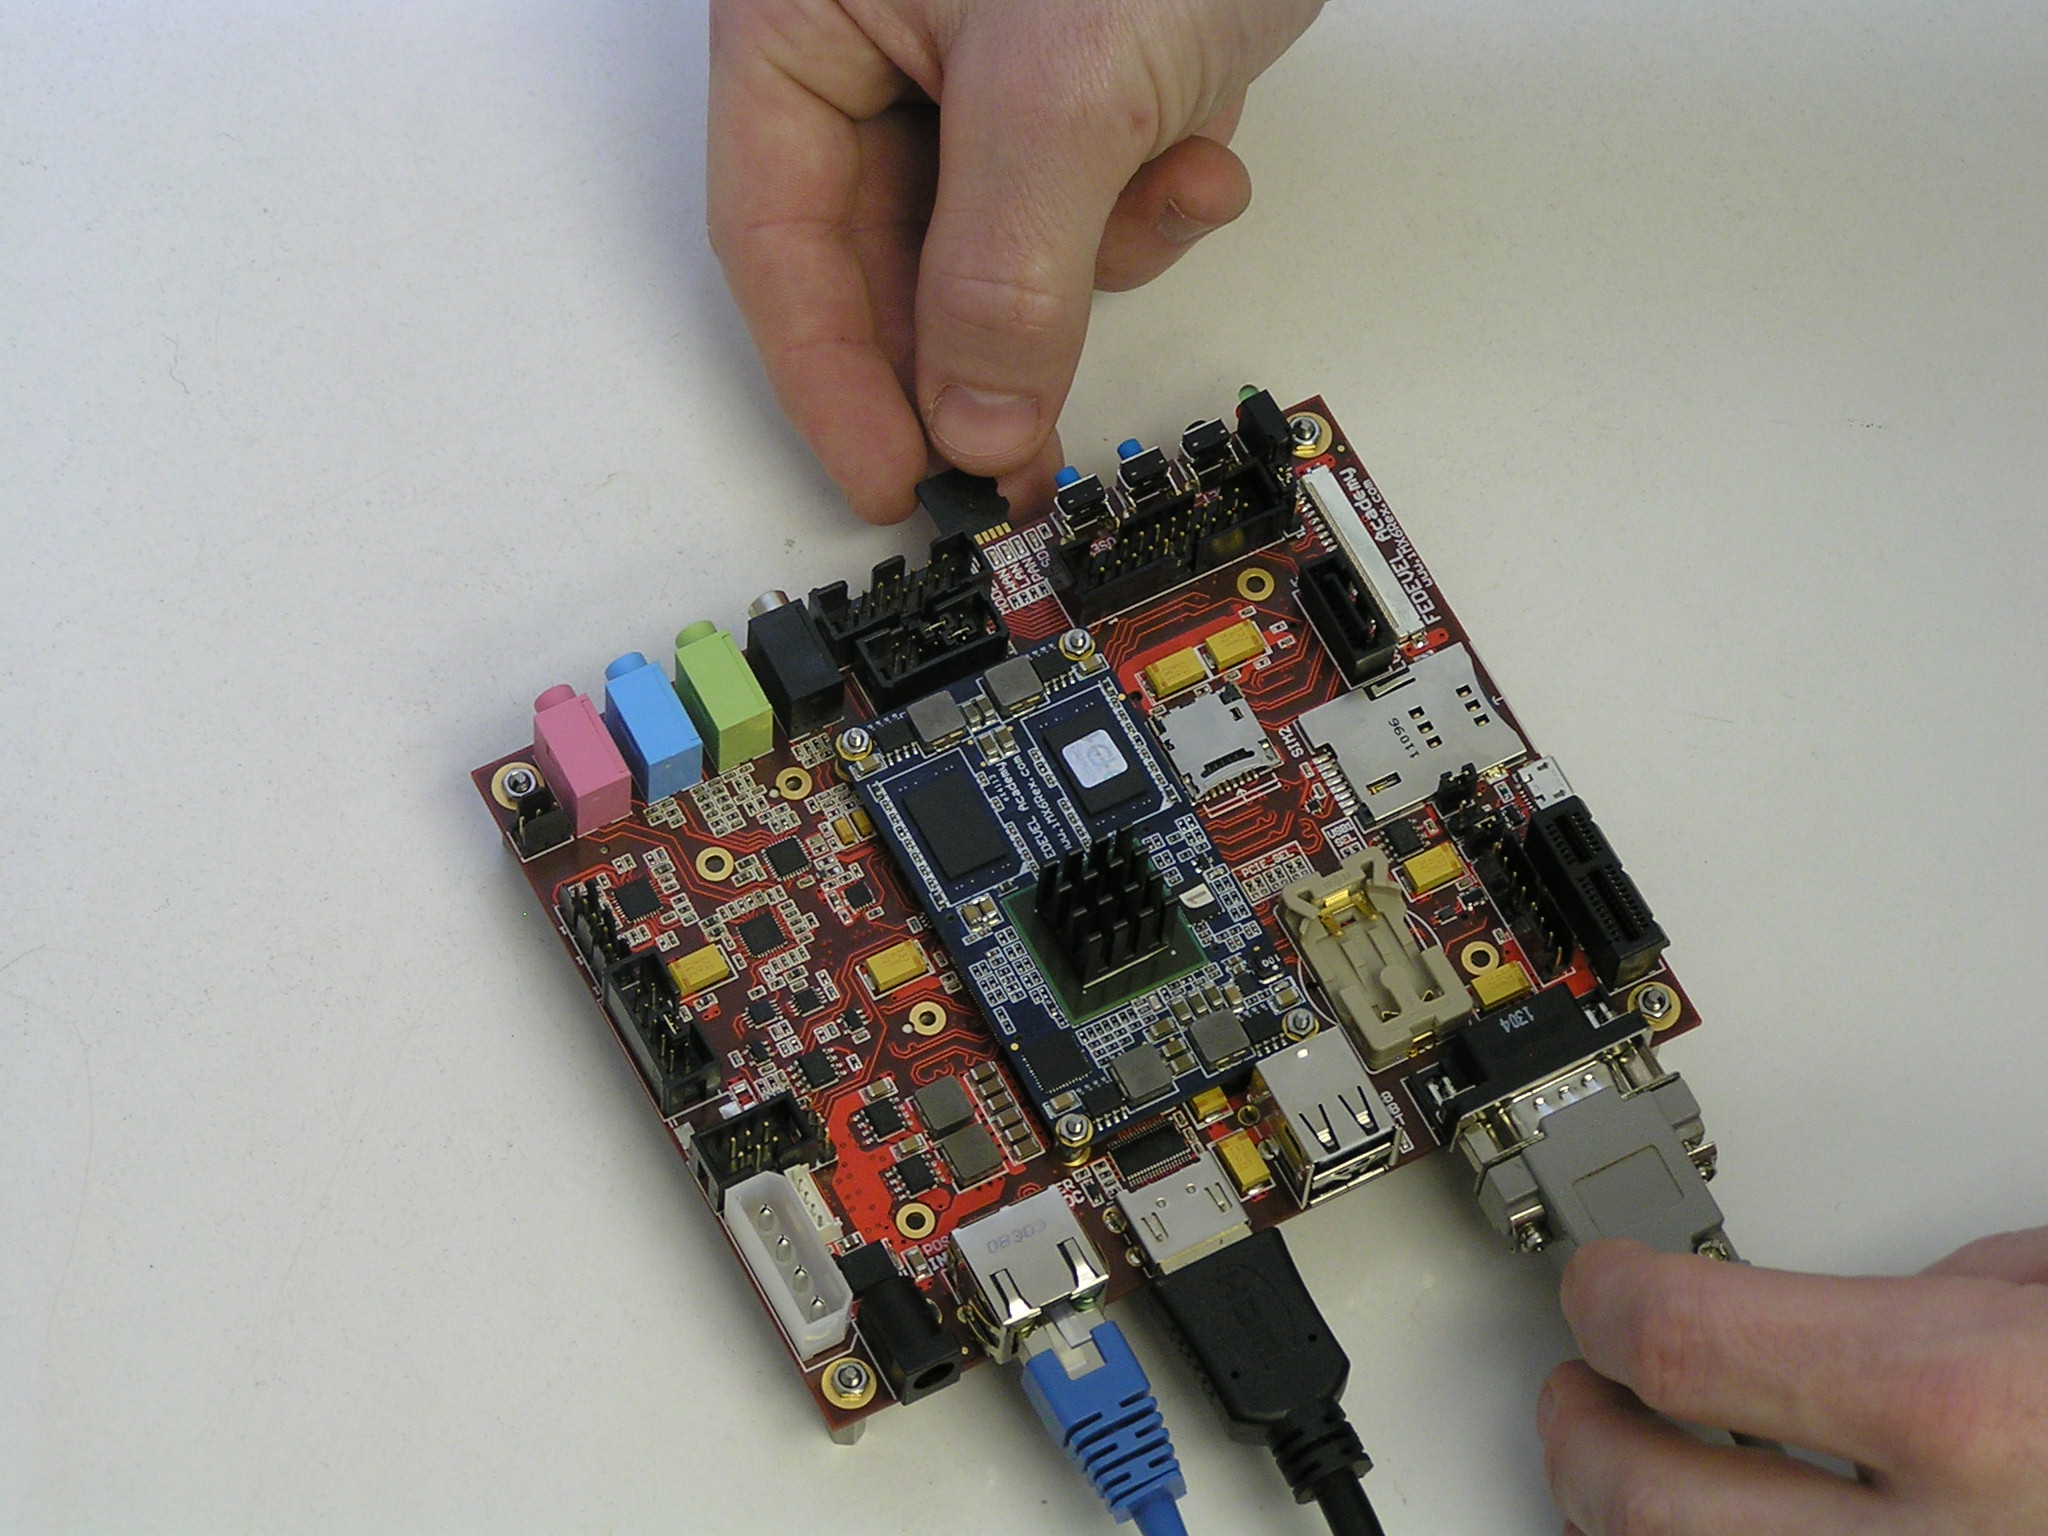
- Connect serial cable
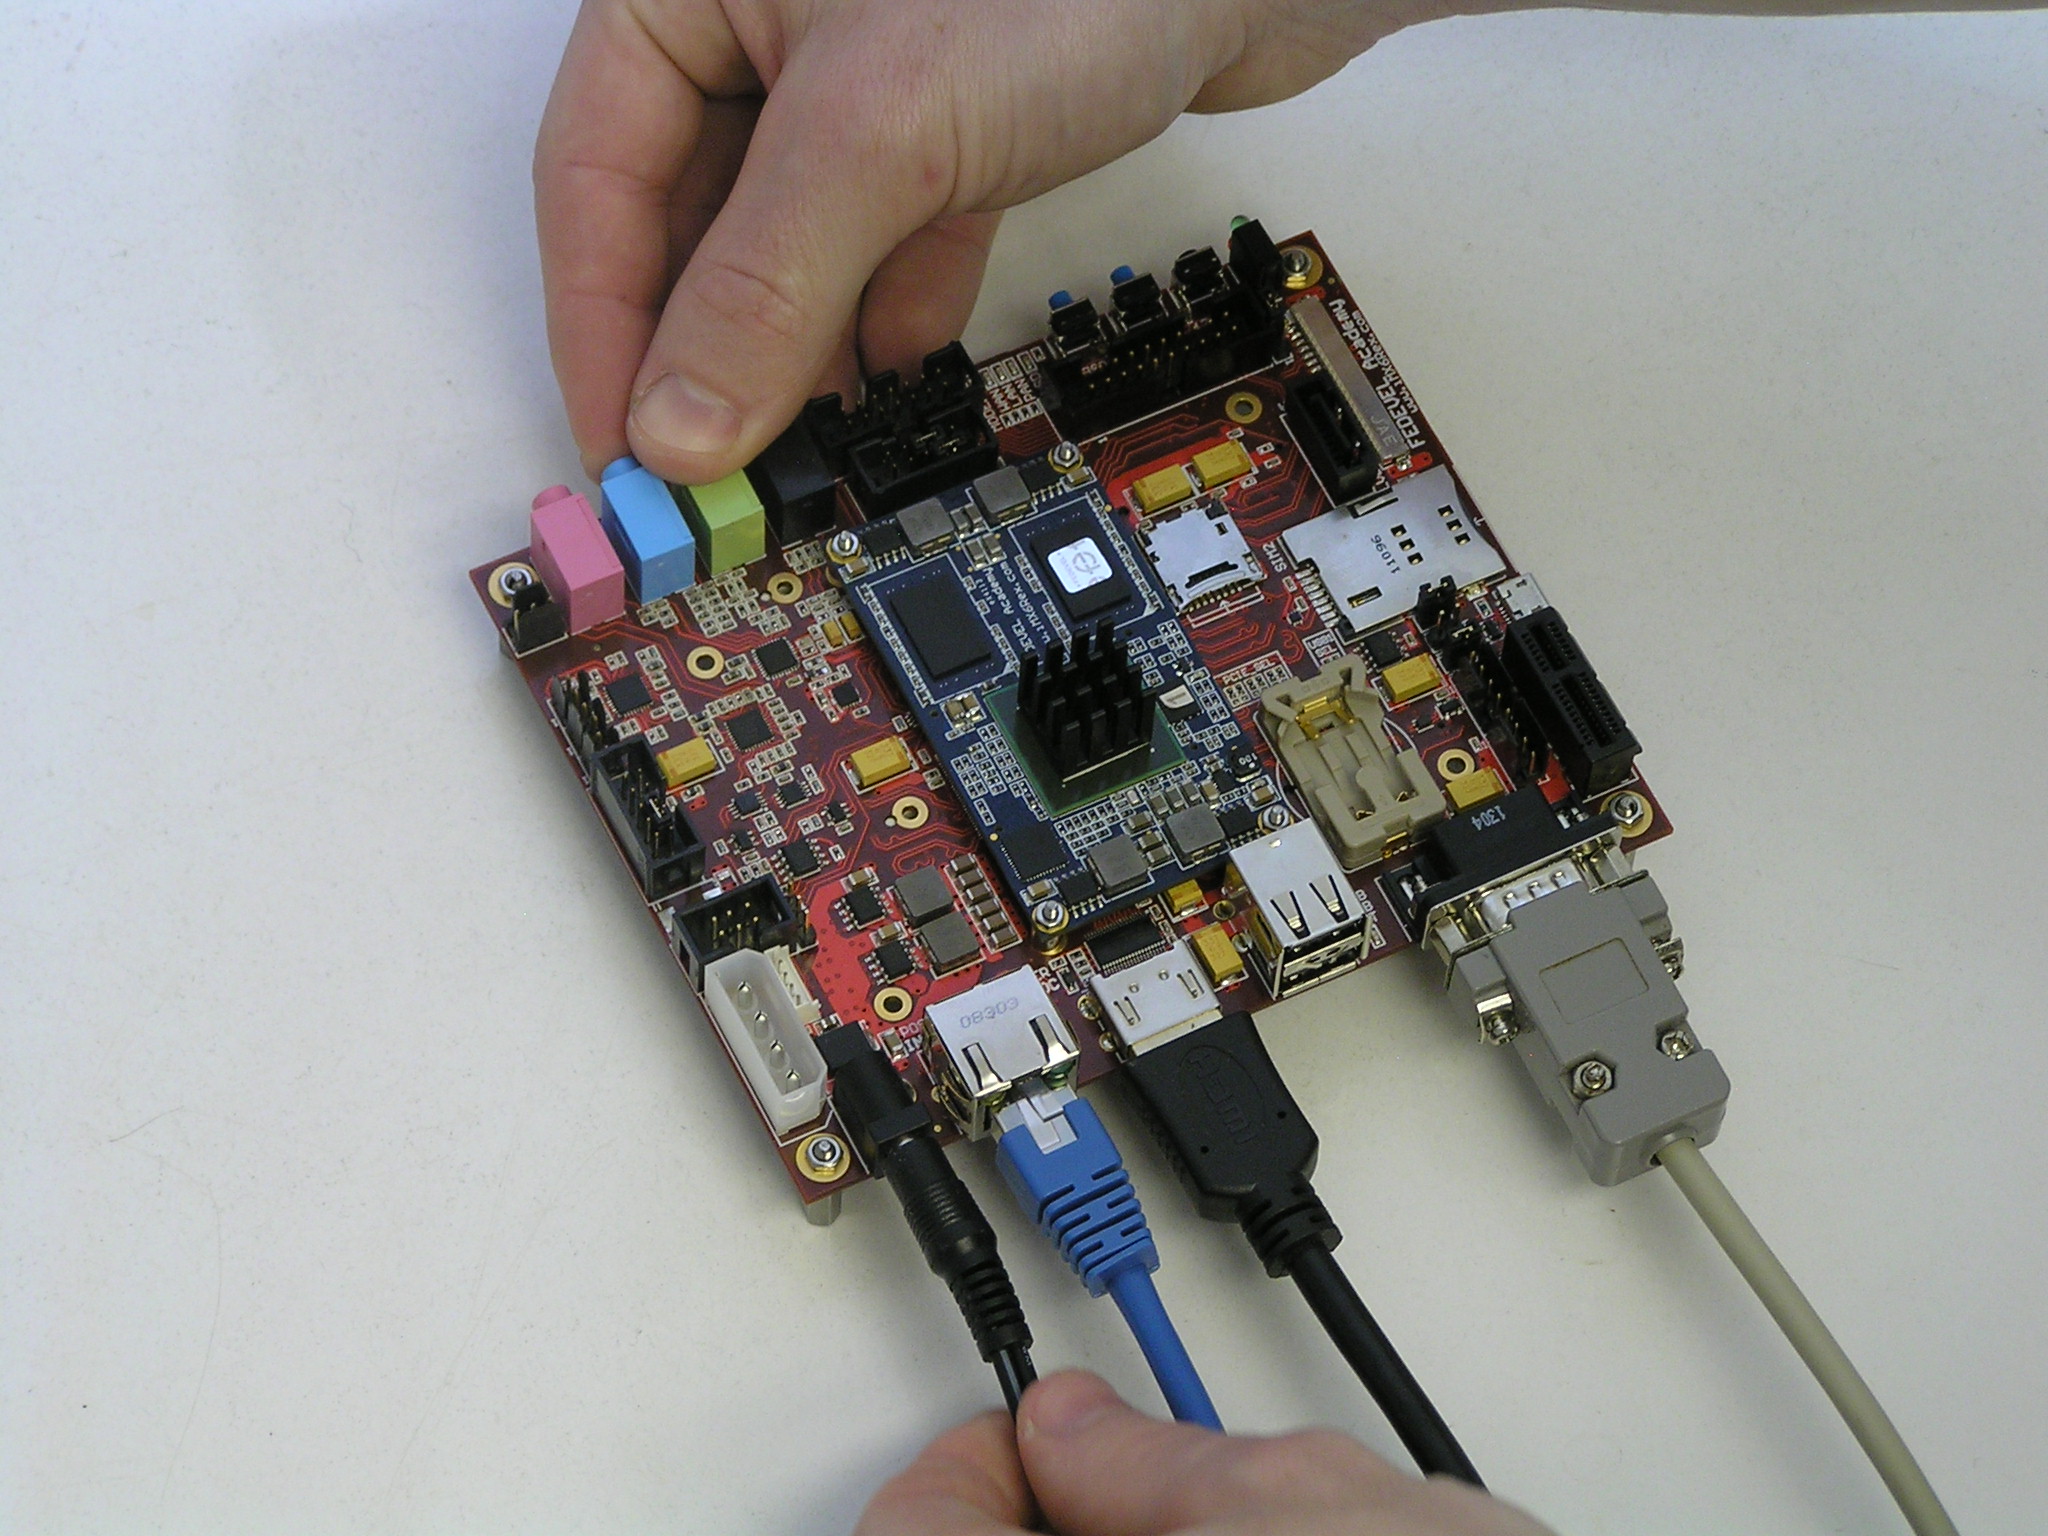
- Connect network cable
- Insert SD card
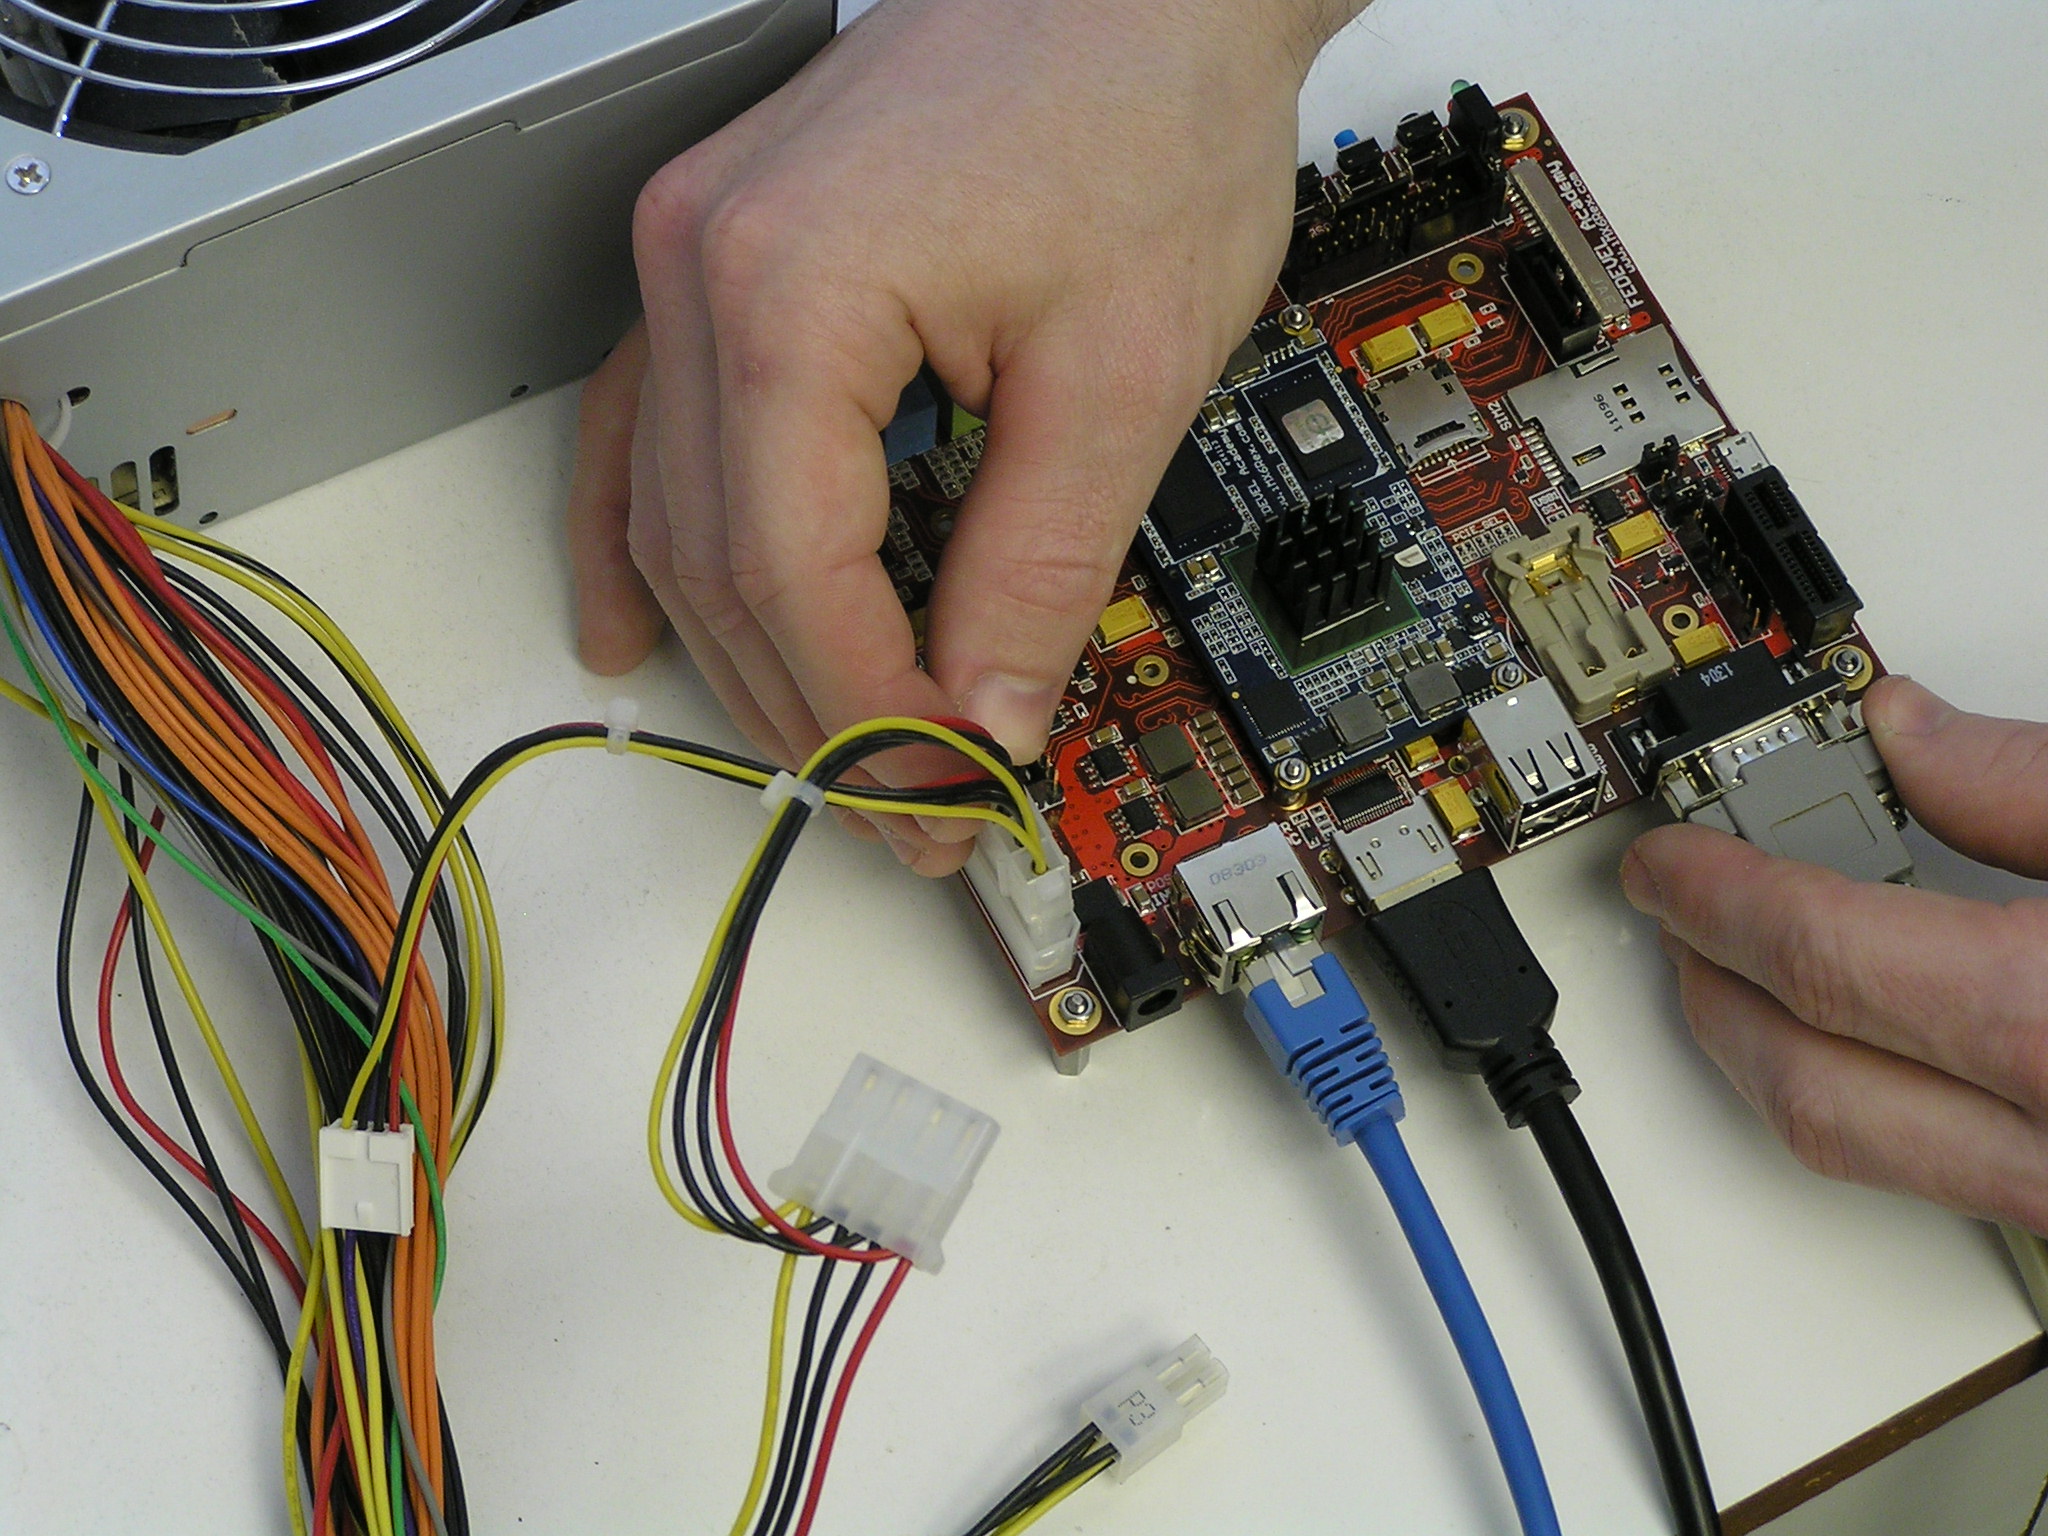
- Connect the power
- Update network configuration
- Tada!
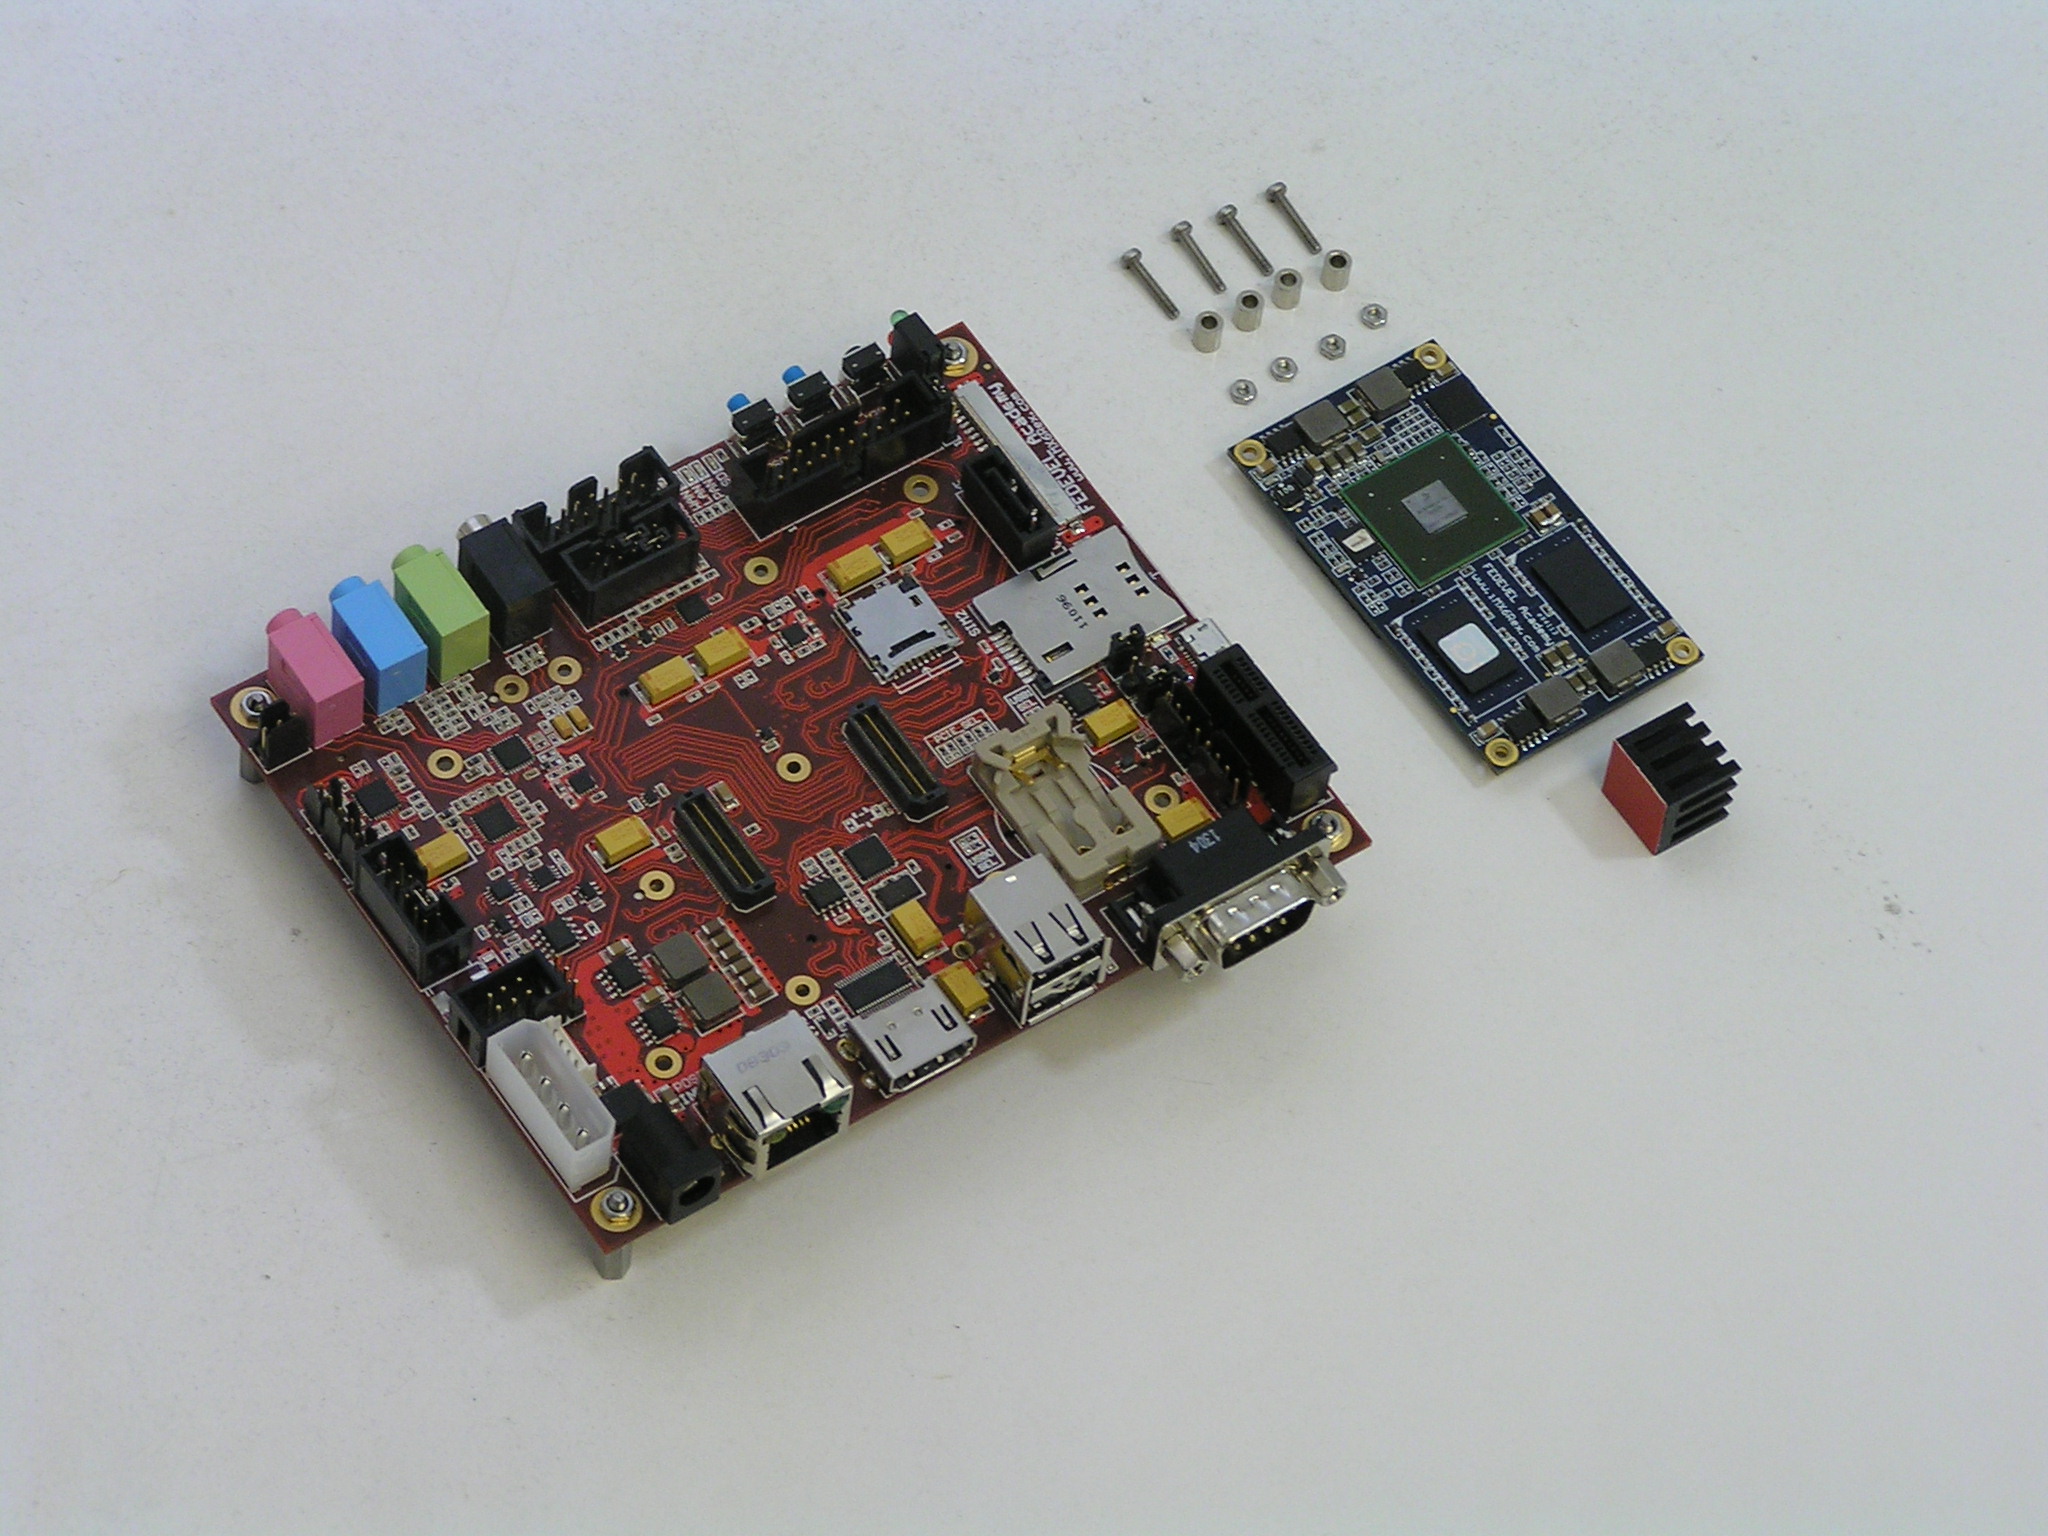
The important parts to build the kit
Notice the position of the thumbs
Notice how the spacer is moved between the module and baseboard
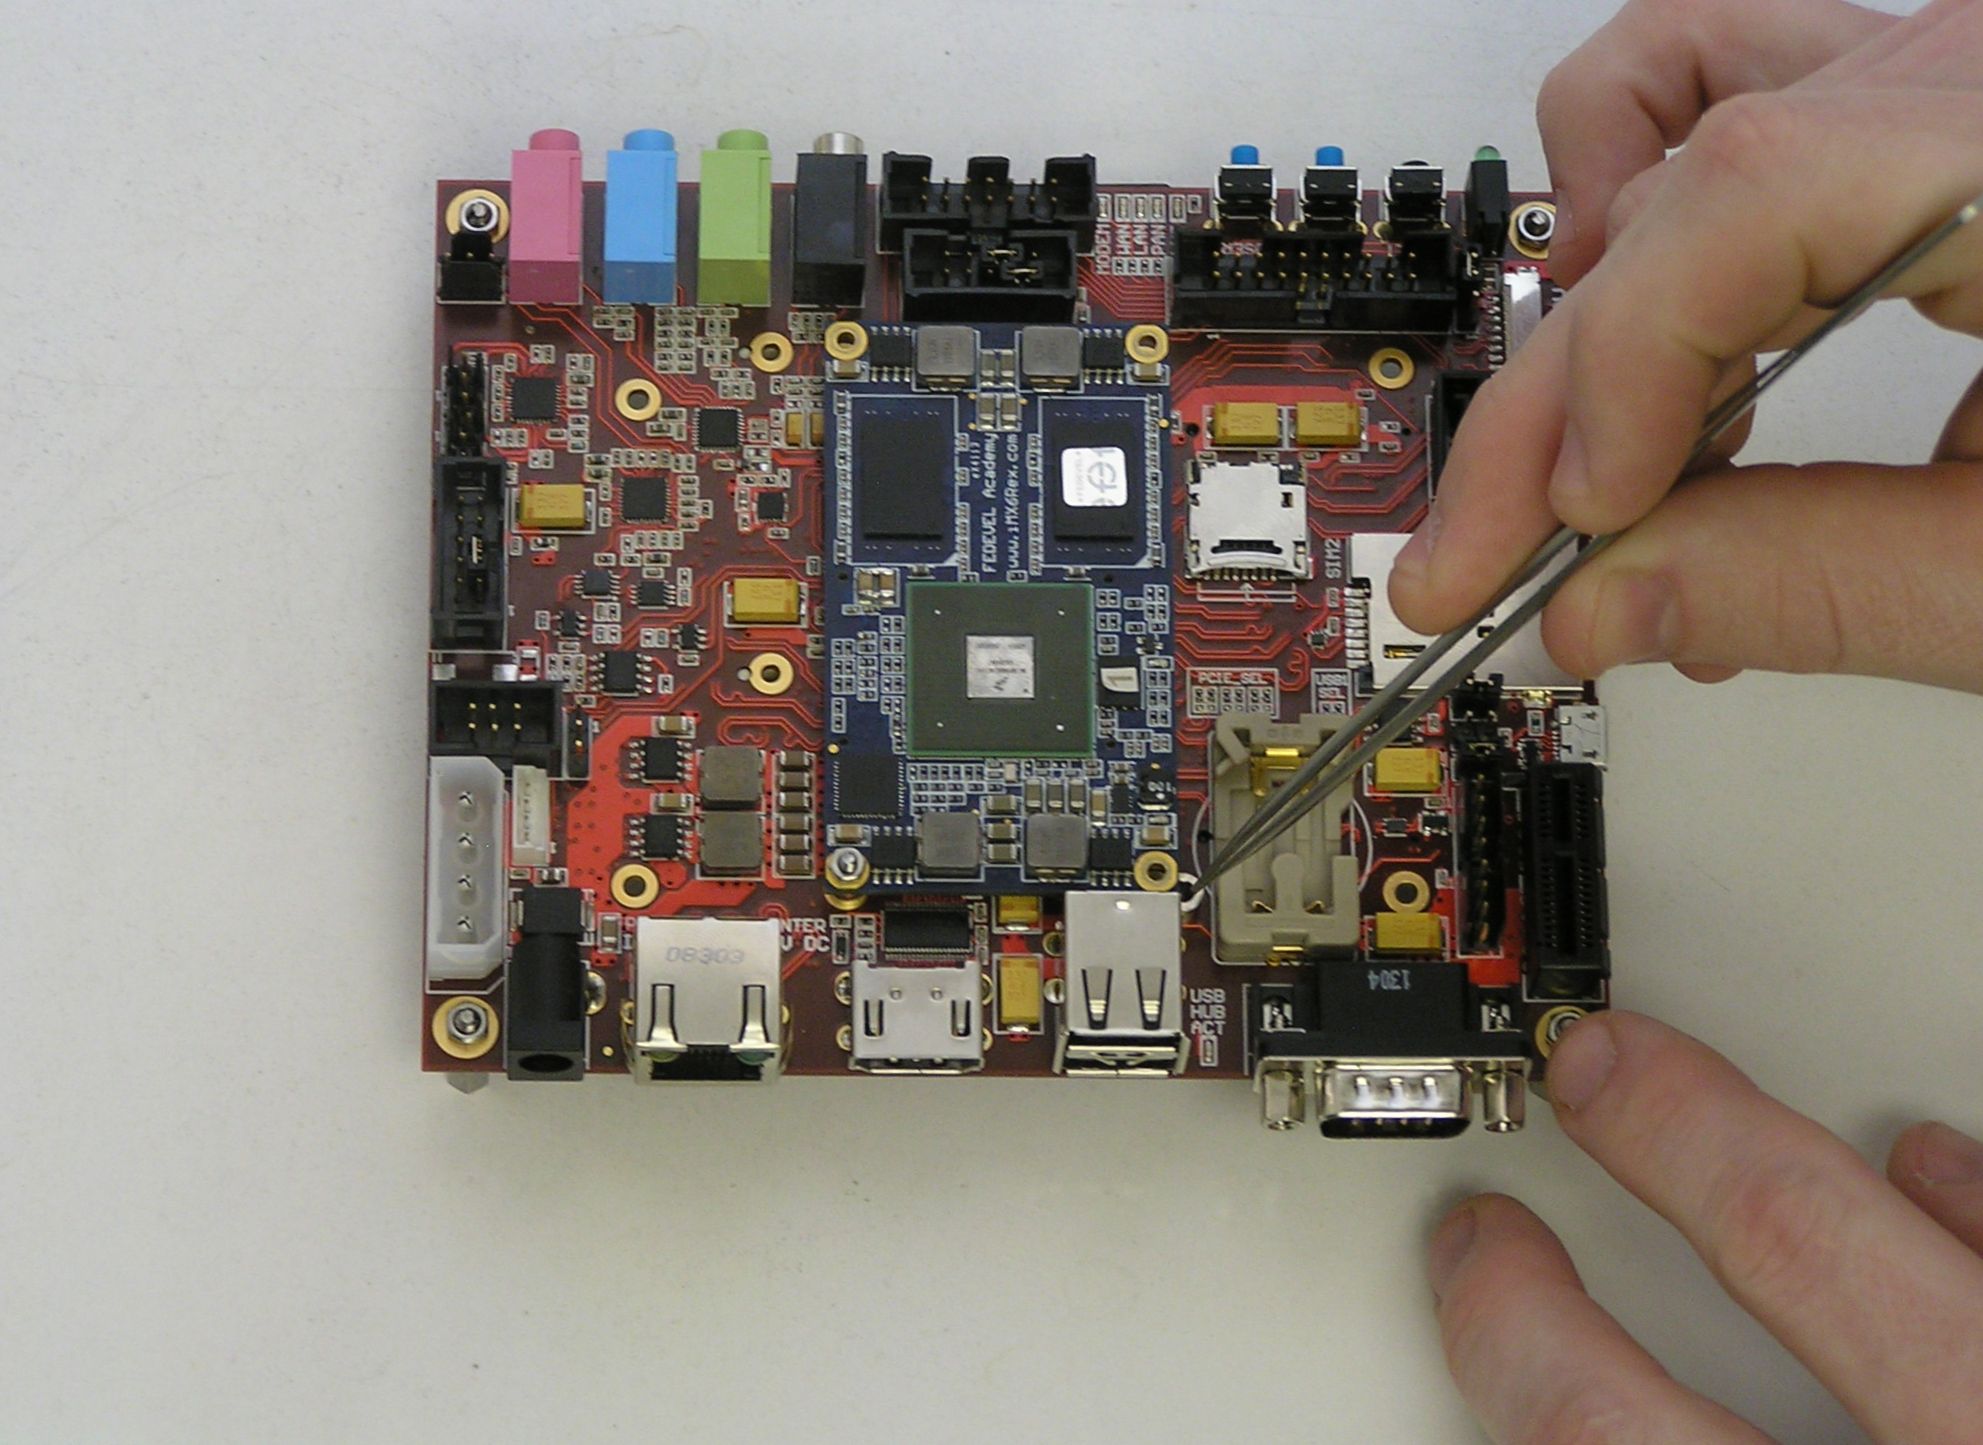
Plug a screw into the mounting hole and secure it with a nut.
Use a screwdriver to tight it up.
Remove the red protection foil from the heatsink.
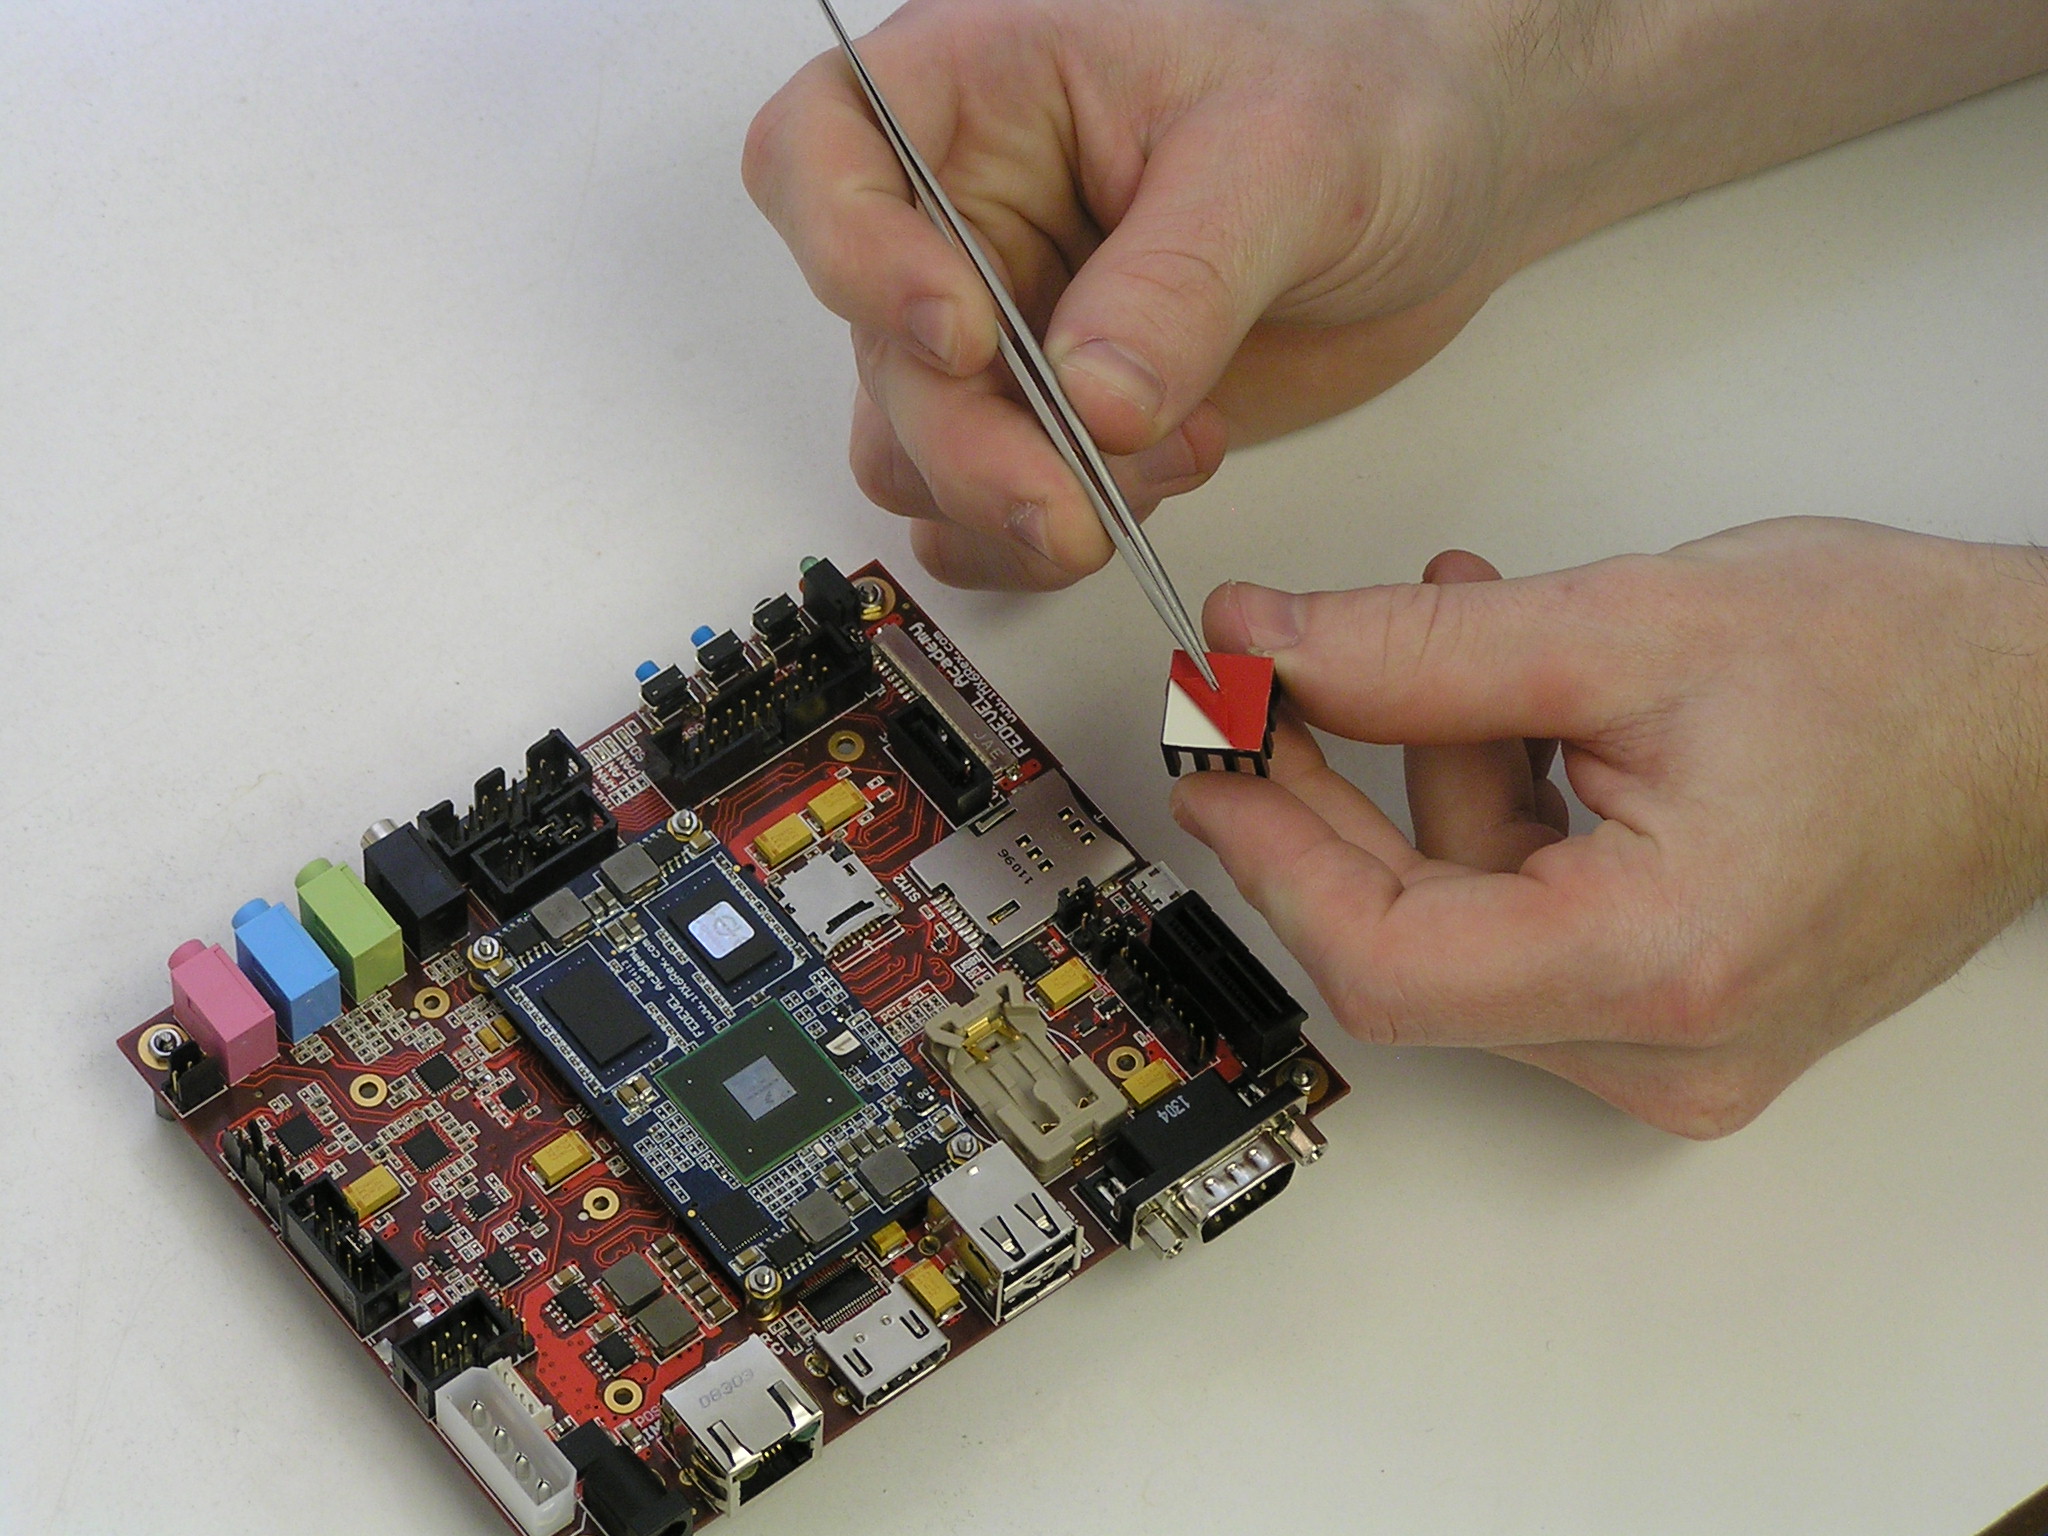
Place the heatsink on the top of the processor.
Connect the iMX6 Rex RS232 serial port to your computer. Use the cable from development kit (it has to be a null modem cable with crossed wires). Run Hyperterminal (or download and use Tera Term). Set the following serial port parameters – Baud rate: 115200 / Data: 8 / Parity: none / Stop bit: 1 / Flow control: none.

Use the network cable delivered with your development kit (this cable is rated for 1Gb Ethernet). Connect the cable between your iMX6 Rex development kit and a network switch (possibly a computer). Connecting the baseboard to a network is not required, but missing network may slow down booting process as Linux will be waiting for a DHCP answer.
Insert the SD card delivered with your development kit into the slot placed on the edge of the board. Be sure the other SD card slot is empty.
You have two options, how the board may be powered.
Option 1:
Use a 7V to 24V DC adapter (usually 12V/3A is fine – here is one from Farnell VEP36US12) with a power jack. The plug diameters are 2mm x 5.5mm with the positive voltage in the middle (use e.g. Switchcraft S-760).
Option 2:
Use an ATX power supply
After you connect the power, the board will start. Watch the console messages in your PC terminal. Once you see how the u-Boot autostart is counting down, press any key (e.g. ENTER) to interrupt it. Update the u-boot parameters based on your company network setting. Here is an example:
> setenv gateway '192.168.1.1'
> setenv netmask '255.255.255.0'
> setenv ipaddr '192.168.1.78'
Select a valid IP address from your network to use an initial ping and insert this command:
> setenv bootcmd 'ping 192.168.1.1; run bootcmd_mmc'
In the case your server does not support DHCP, set a fixed IP address and network mask which will be assigned to the Rex board after it boots up into the Linux:
> setenv bootargs_mmc 'setenv bootargs ${bootargs} ip=192.168.1.78:::255.255.255.0 root=/dev/mmcblk0p1 rootwait'
Save the u-boot parameters and restart the board:
> saveenv; reset
Now, your board should boot up into Linux. In case you have any problems to setup your Development kit, check out our FORUM & Questions or contact us. Enjoy!
What next?
- Setup a Host computer, where you can compile uBoot and Kernel: How to start with Linux and uBoot
- Try to compile the existing uboot and kernel, so you know how to modify and compile it for your own application: How to compile uBoot & Kernel 3.0.35, Flash, Update, Boot
- Learn how to use iM6 Rex peripherals: How to use & access iMX6 Rex peripherals (Examples)